This content may contain affiliate links. Please read my disclosure policy to learn more about this.
“What phonics program do you use?” Simple enough question. Or so I thought! It turns out, there are heaps of different phonics programs. The school I first taught in used six different programs. Six! That’s a lot of phonics resources. As a new teacher, I was still struggling to wrangle 21 students, I didn’t have time to be learning six different phonics programs.
But I did it anyway. I took resource books home, I made lists of strategies to try, and I drowned in assessment data. In my first few years, I tried Letter of the Week, Words Their Way, Phonics Lessons, and Jolly Phonics. While these programs may be highly effective in your school, they were not with mine. I liked elements of each, but none of the programs included resources that truly suited the needs of my students.
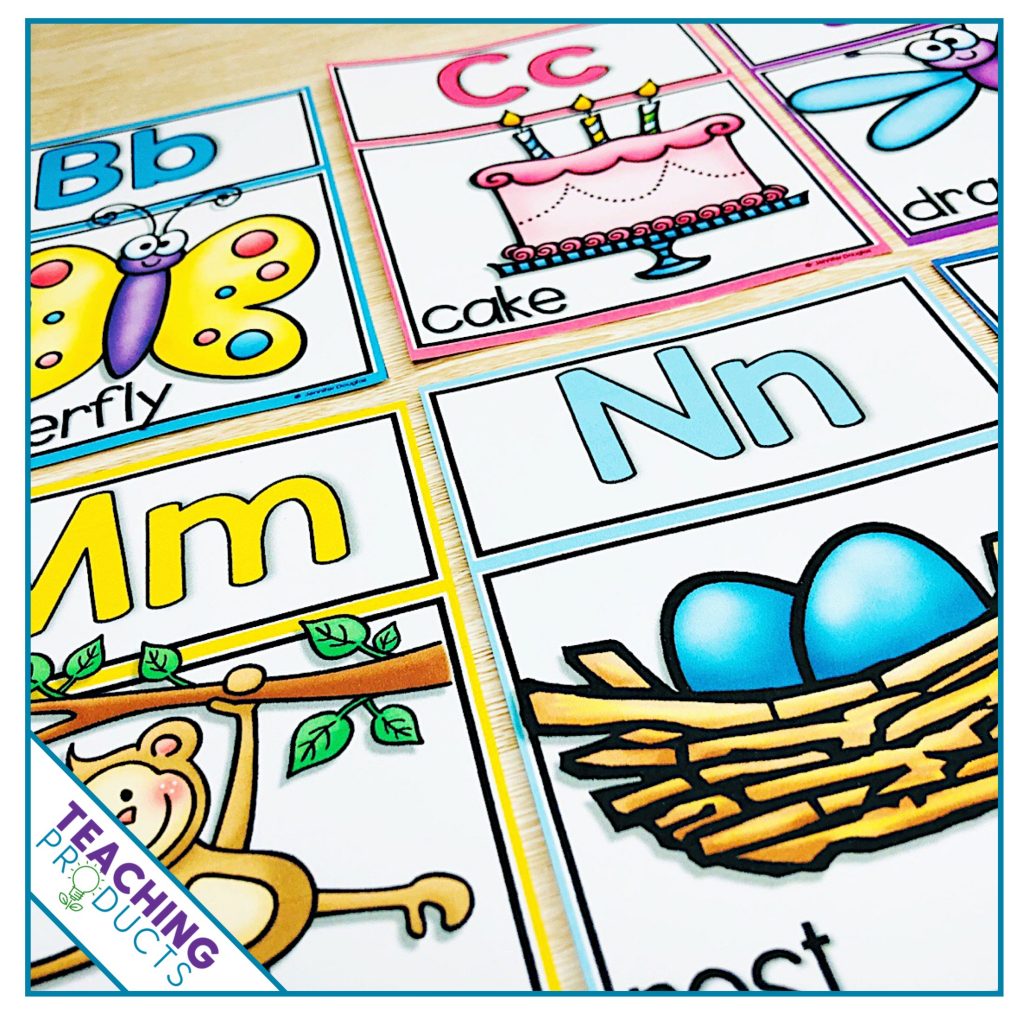
Since then, I’ve paid attention to what resonated with my students, what resources they requested, and what was contributing to their learning. I used that information to develop my own set of phonics resources. I’m so excited to be writing this post, as I’m going to give you a virtual tour of some of the phonics activities that I use every day. These are the resources that I use with my absolute beginners; the students who are still developing their letter and letter-sound knowledge.
Where to Start?
If you’ve read my last post, then you’ll know that you need to start your phonics instruction by collecting some assessment data. I’ve put together a Letter and Letter Sound Knowledge Assessment, which you can download to use in your classroom (grab it now, it’s free!).
Phonics Resources
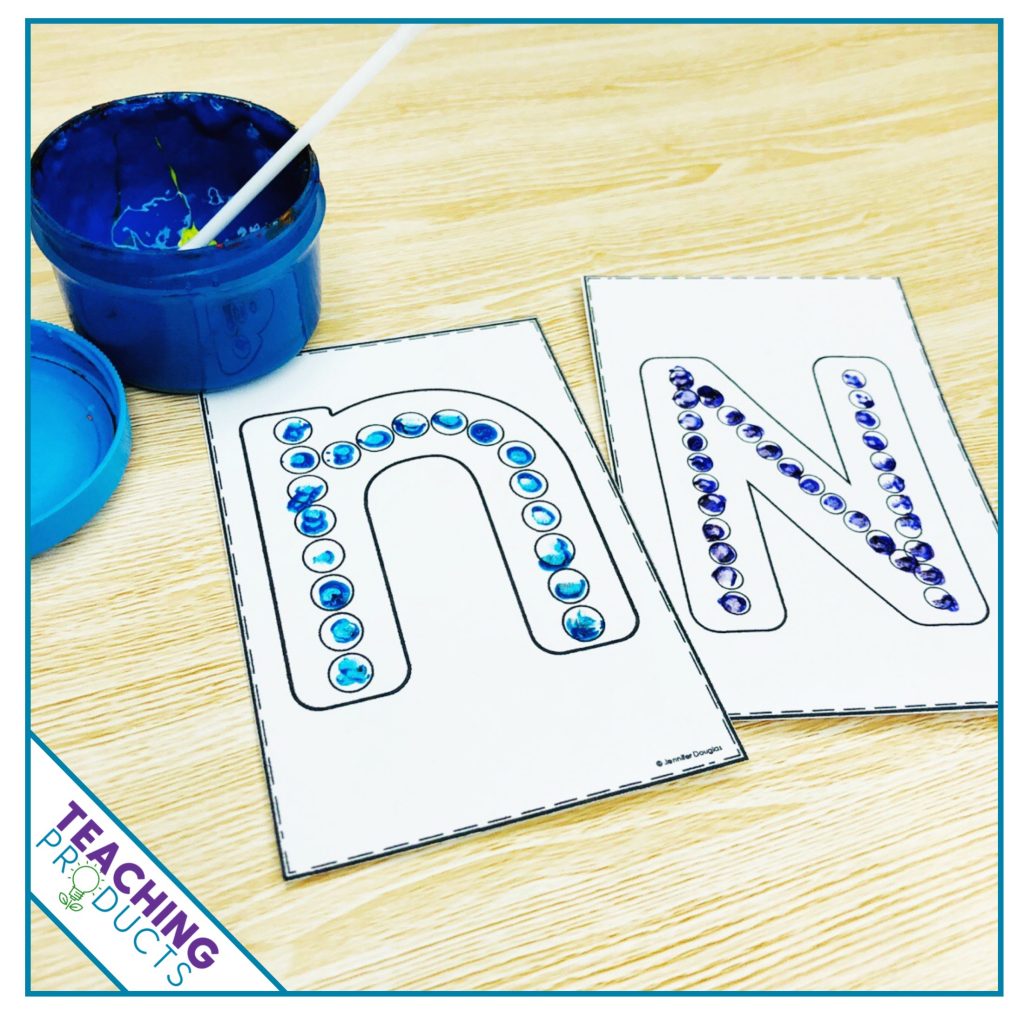
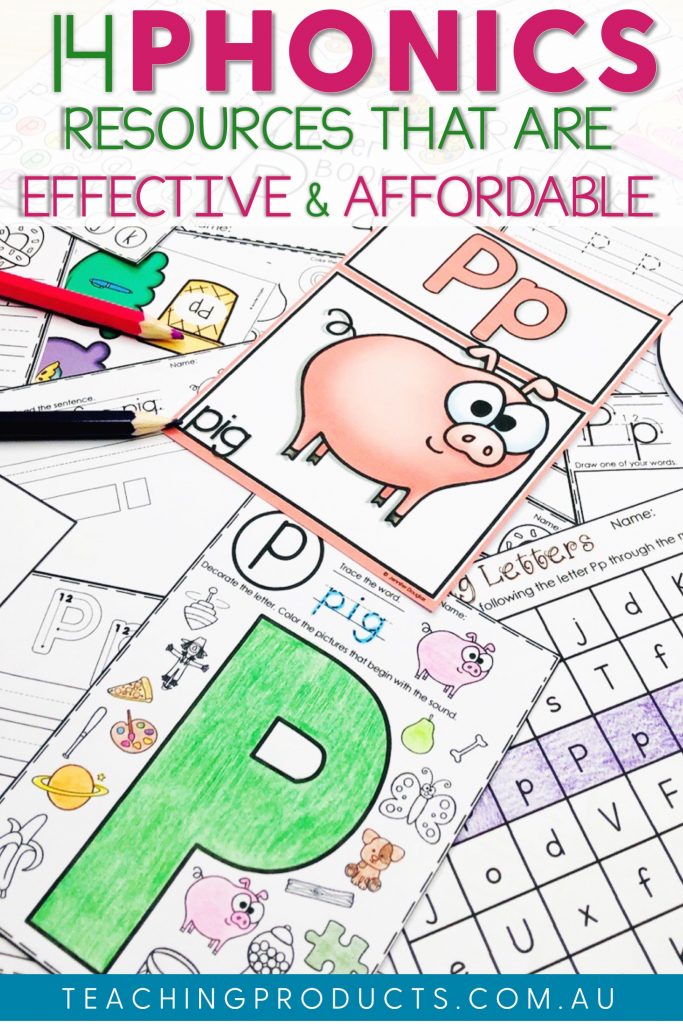
My absolute favorite phonics resources are Alphabet Sensory Mats. These mats are so incredibly versatile, and appealing to young learners (or those with additional needs). I print and laminate the set, and store them in a handy document envelope (if you use a Letter of the Week program, then grab one envelope for each letter and store all of your activities for one letter together in one envelope).
I gather up the sensory supplies and let my students choose their favorite. We often start by using our fingers to trace the letter, then my students choose how they want to use their sensory mat. These are the most popular choices that I offer:
You get the idea – almost anything will work with these mats! As the students are making the letter, I have them name the letter and make the sound. For those that are a bit more capable, they also come up with a word that begins with the sound.
Writing Practice
For writing practice, we use a range of difference resources such as:
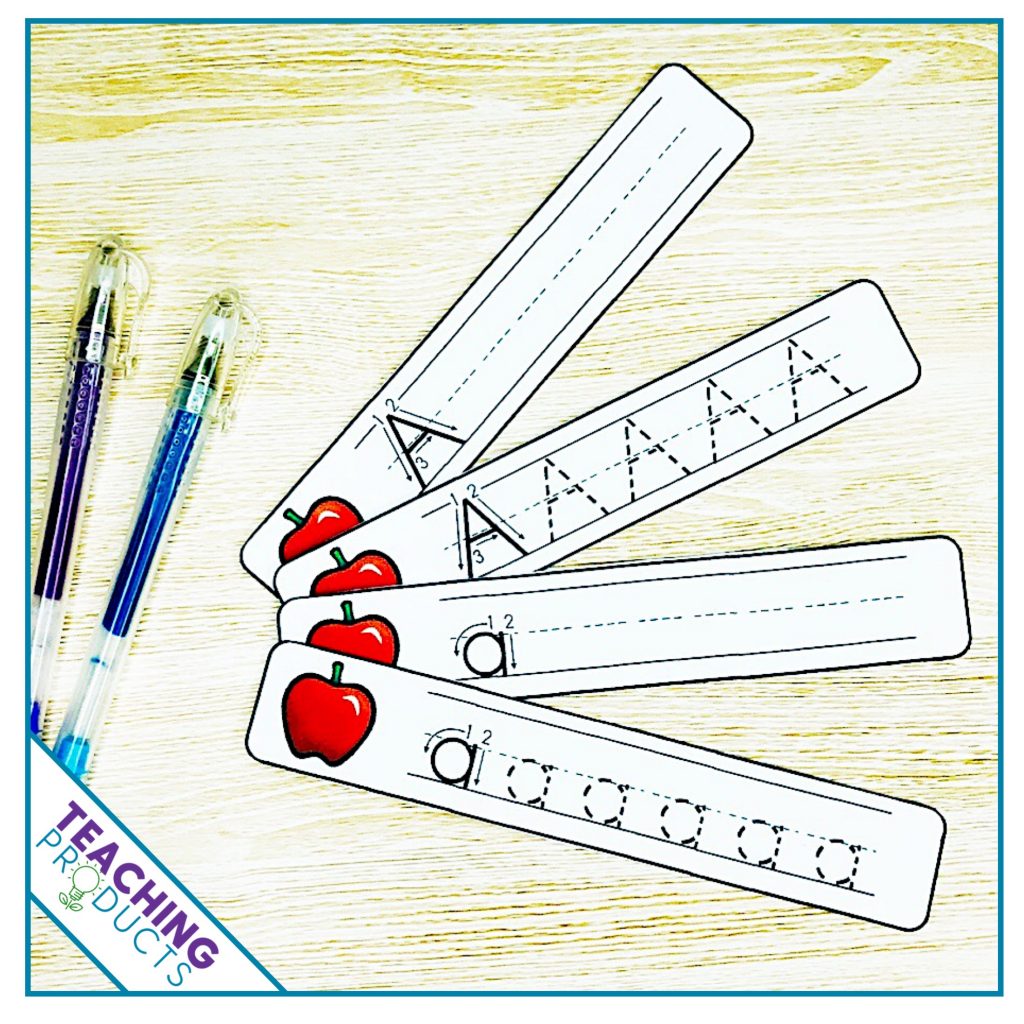
- Write and Wipe Strips are great for repeated use. Each letter has a strip for writing upper and lower case. Just laminate and add your favorite dry-erase markers to create an instant writing center.
- Handwriting Printables can be used as a practice activity after explicit teaching of letter formation and stroke order. I also use these for early finishers and homework tasks.
- Writing Mats are used with students who need a little extra focused support with a specific letter. Where possible, I use these either one-on-one or with a small focus group. We start by naming the letter and making it’s sound, then we look at the letter, trace it with our finger, then trace it with a pencil. Next, we practice writing the letter. In the bottom section, we talk about the pictures, name the pictures, and listen for the letter sound. Finally, we trace and write the words.
- Alphabet Sentences are a great way to focus students on initial sounds while practicing their fine motor skills with cutting and pasting. I find some students prefer these pages to the Handwriting Printables as there is not as much writing required.
Applying our Knowledge
Once students have mastered most letters, we move into practicing and applying our knowledge. I focus students on initial sounds at this stage.
- Initial Sounds Worksheets work well as a small group activity. My students identify the letter and
it’s sound, and then name each of the pictures while listening for the sound at the beginning of the word. If we name a picture that begins with the sound, the students color that picture. I then get my students to independently decorate the letter. If this is a bit too challenging for some students, then we also use Alphabet Worksheets. - Letter Matching Center Activities are a great way for my students to practice and apply their learning. Students love the ice-cream theme, and this activity allows them to practice matching letters, words, and pictures. When not in use, I store this center activity in a hard case.
- Alphabet Mazes can be used as individual worksheets of center activity. If using as a center activity, then I laminate each page and use dry-erase markers. My students love finding the path of upper and lower case letters to solve the maze. These mazes work really well alongside I Spy Letters. I tend to use the mazes one day and I Spy Letters the next.
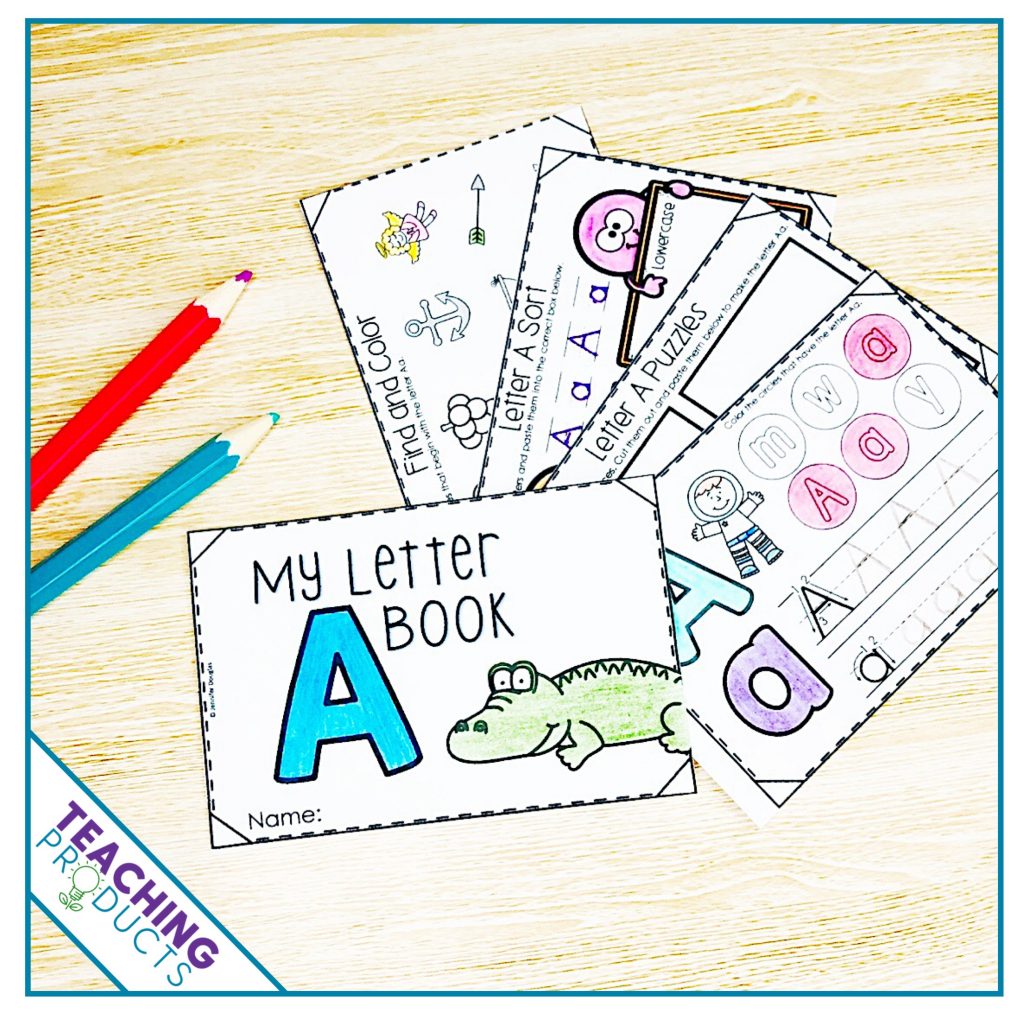
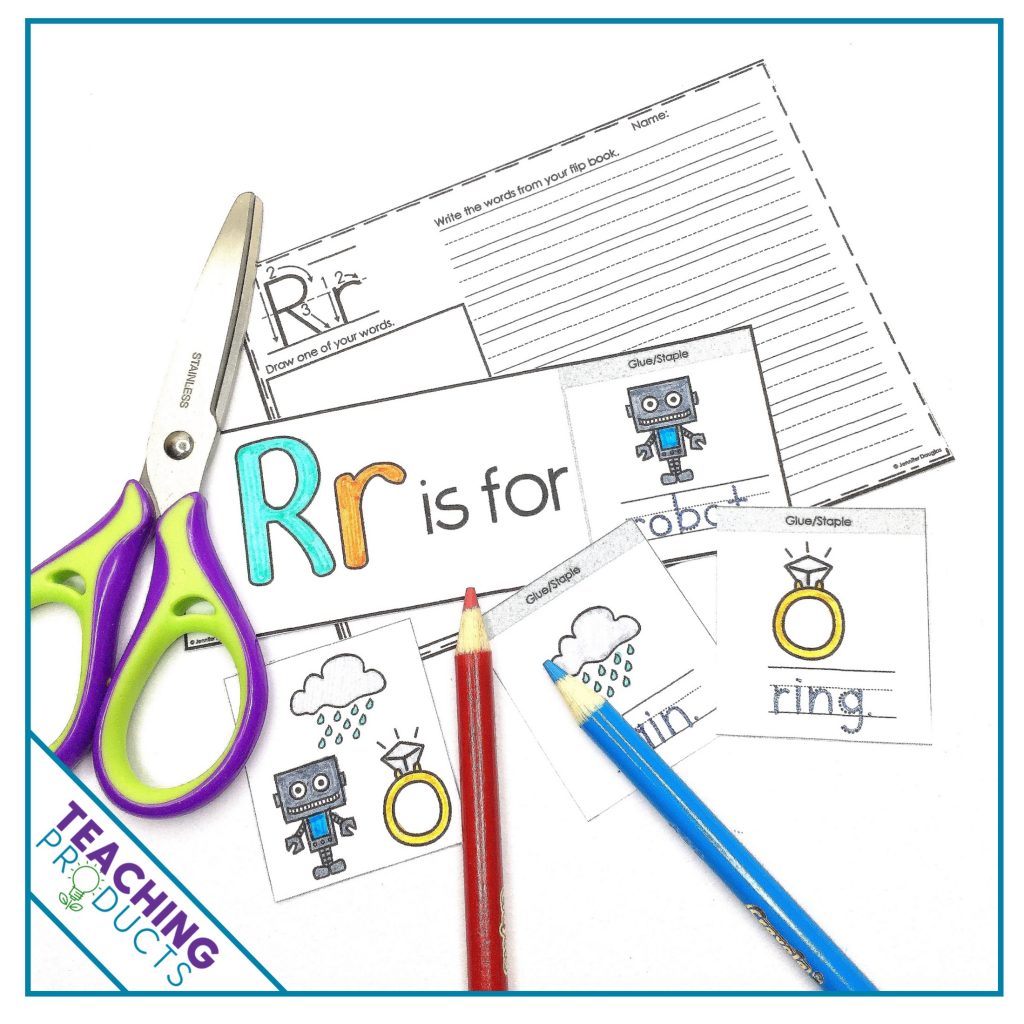
- Interactive Letter Books are the perfect resource to help focus students on a specific letter. These books allow my students to practice identifying, writing and sorting (upper and lower case) the focus letter, then apply this knowledge to identify initial sounds. Plus, my students are so excited to make their very own book!
We also add to our Individual Flip Books as students learn each letter. While learning the letters, my students store their book-in-progress in a document folder. When they’ve created all 26 pages, they get to assemble their book (bonus lesson on alphabetical order!). The
Celebrating Learning
Once my students master each letter, we celebrate their learning by giving them a choice of making their own Crown, Wristband, or Medal. My students adore these, and they proudly wear them in the classroom and playground. How cute would your students look wearing these?!
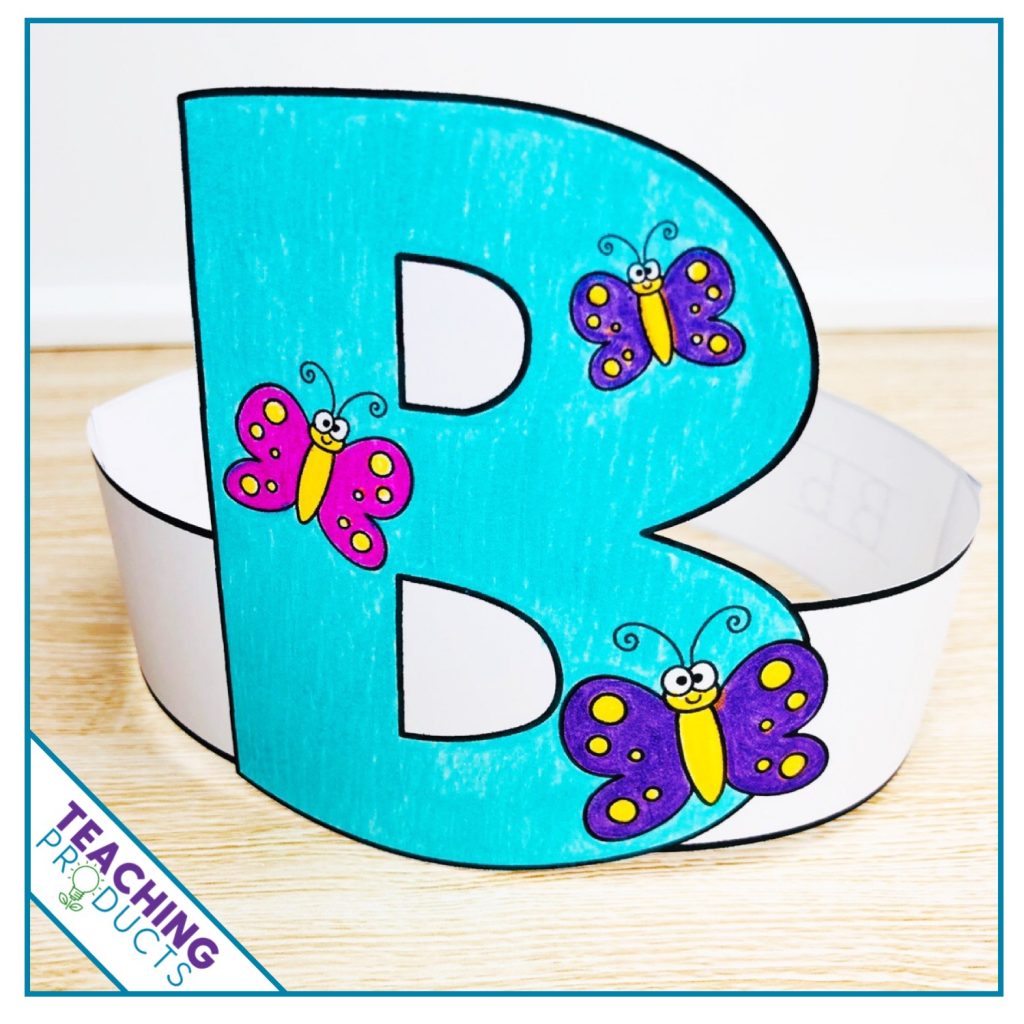
Alphabet Crowns 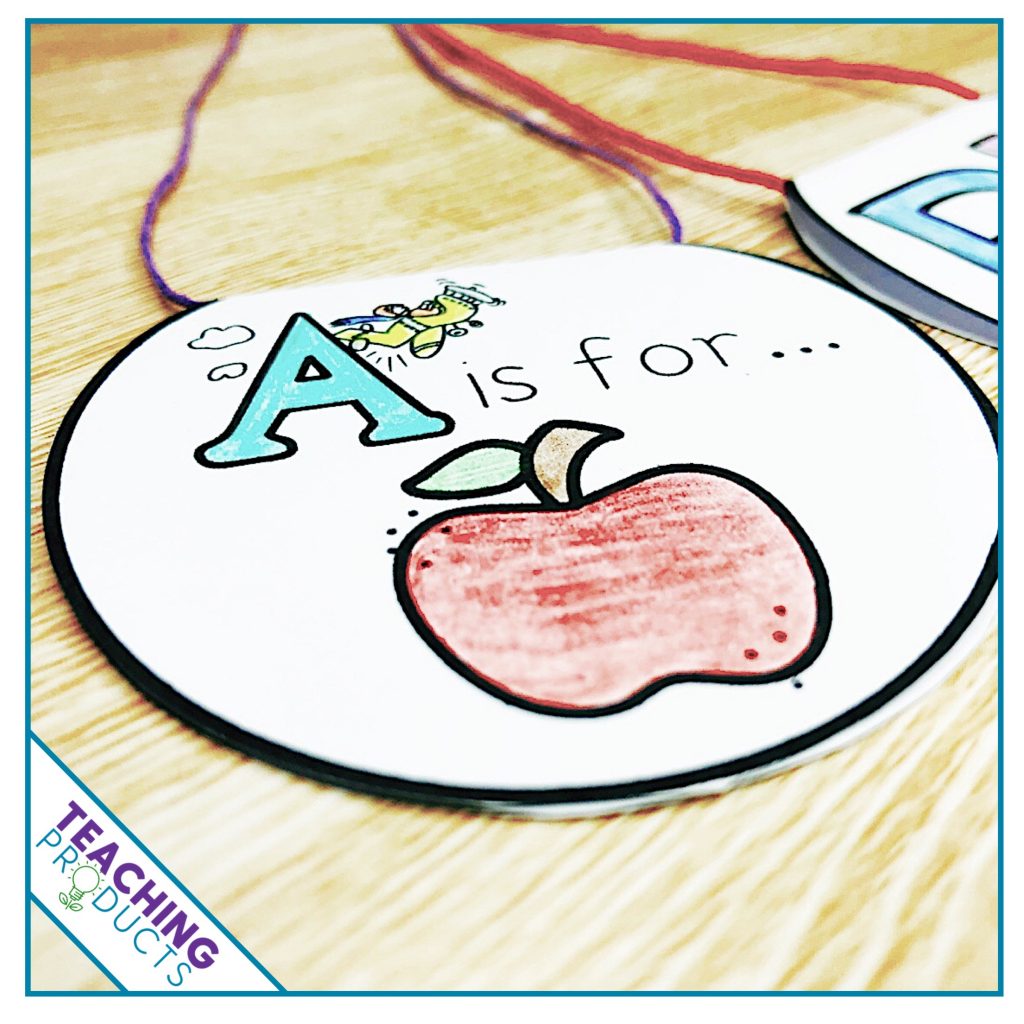
Alphabet Medals 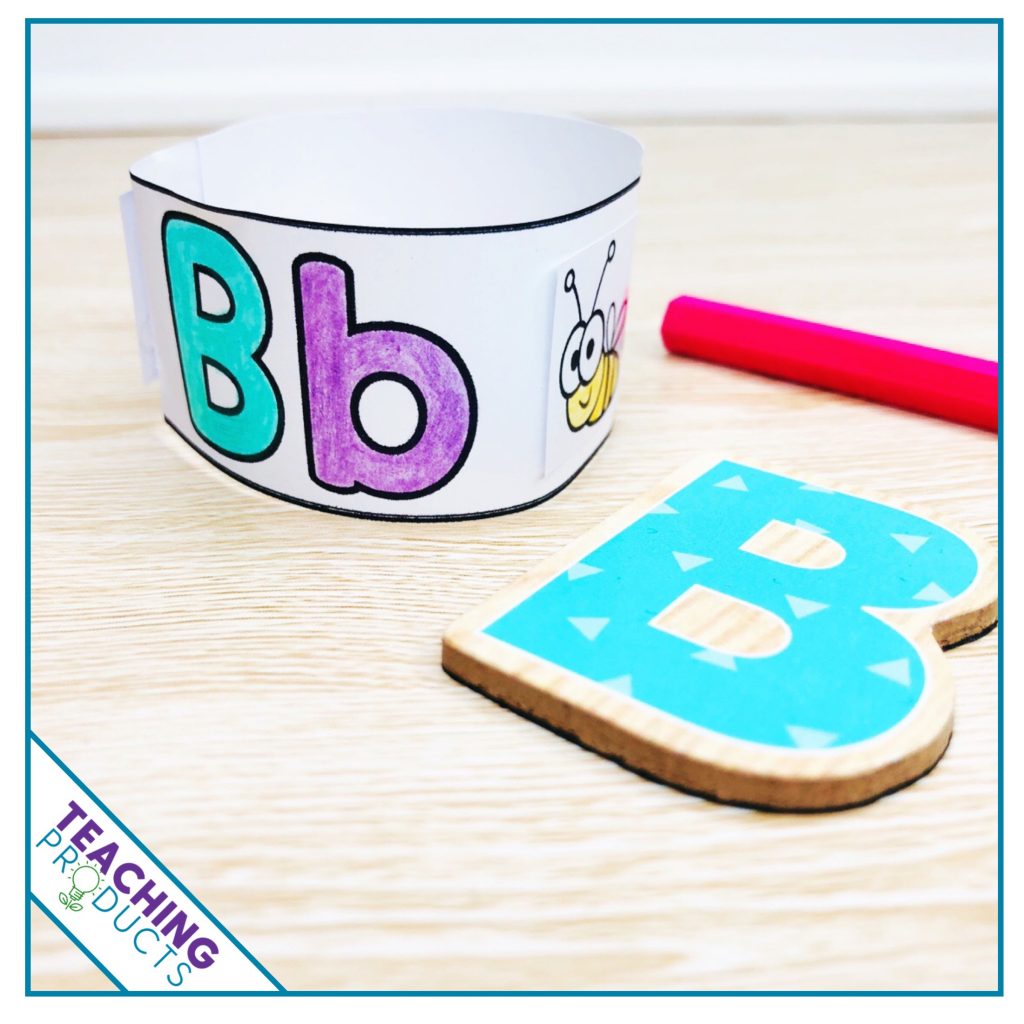
Alphabet Wristbands
How do you teach phonics in your classroom? Leave a comment below to let me know!
In my next post, I’ll delve into Phonological Awareness, Phonemic Awareness, and Phonics.

